Garlic Dill Pickles at Thistledown Farms
Scaled Servings: 24
Originally: 24
This recipe is by Jan Roberts-Dominguez. It appeared in the Oregonian on August 4th, 2009
Make-Ahead Pickling Brine
- 1 quart cider vinegar
- 1 quart water
- 1/4 cup pickling spice, (see note)
- 1/3 cup pickling salt, (see note)
- 2 tablespoons granulated sugar
- 1/2 teaspoon ground turmeric
- 1 cup chopped fresh dill, (usually sold in bundles, with seed heads still attached to their long stalks) heads
Dills
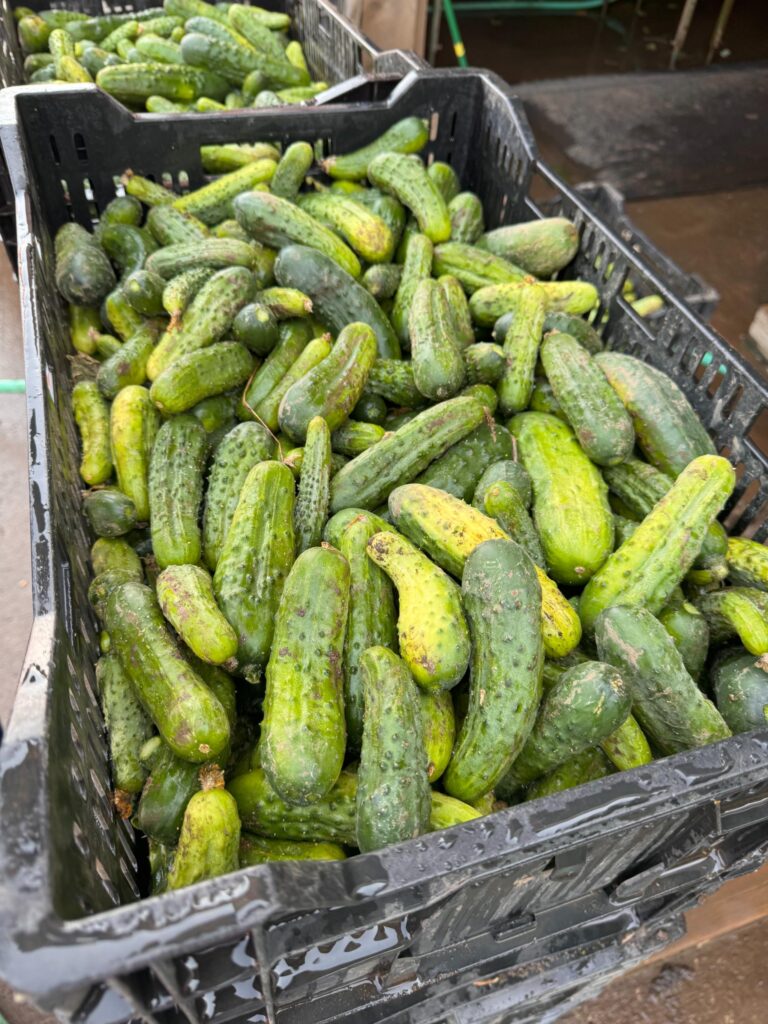
- 4 quarts pickling cucumbers, rinsed well and blossom ends trimmed off
- 16 clove garlic, peeled
- 4 fresh dill, (usually sold in bundles, with seed heads still attached to their long stalks) heads, halved
- 1/2 teaspoon crushed red pepper flake
Instructions
To make brine: In a large nonaluminum pot, combine the vinegar, water, pickling spices, salt, sugar, turmeric and chopped dill heads. Bring to a boil, reduce heat and simmer, covered, for 5 minutes. If preparing a batch for the refrigerator, let the mixture cool, then strain off the seasonings and dill (press down on the strainer to extract as much flavor from the ingredients as possible before discarding them). Pour the brine into nonreactive containers, such as glass canning jars, or food-grade plastic tubs or jugs with tightfitting lids. Refrigerate until ready to use.
Note: I prefer Schilling brand pickling spices because it includes chiles. However, you can use any brand — even bulk pickling spices — as long as it’s fresh and has a pungent aroma.
Note: I recommend pickling/ canning salt because regular salt can create a cloudy pickling solution and iodine can darken pickles. Makes 1/2 gallon brine (enough for 1 gallon of pickles).
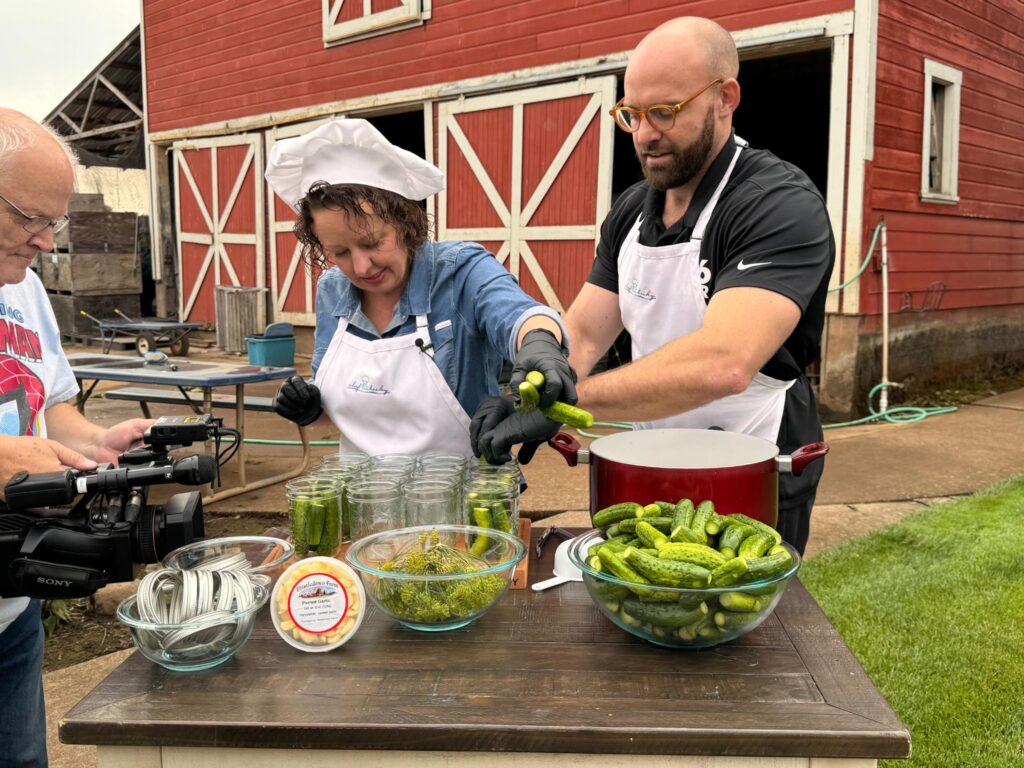
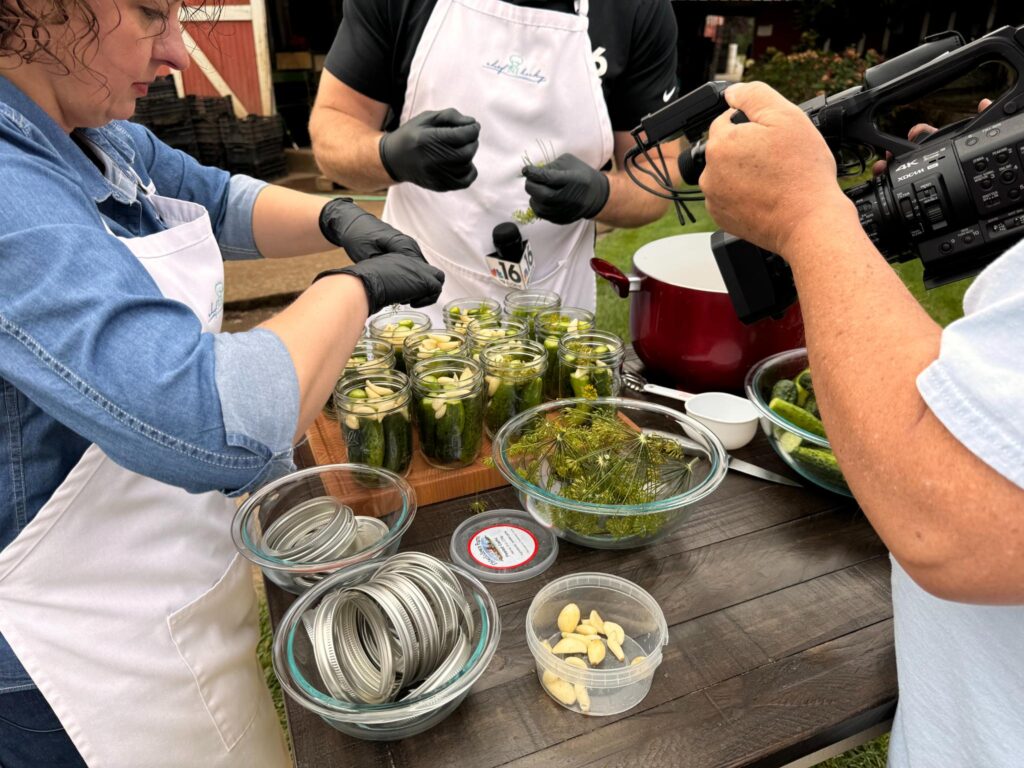
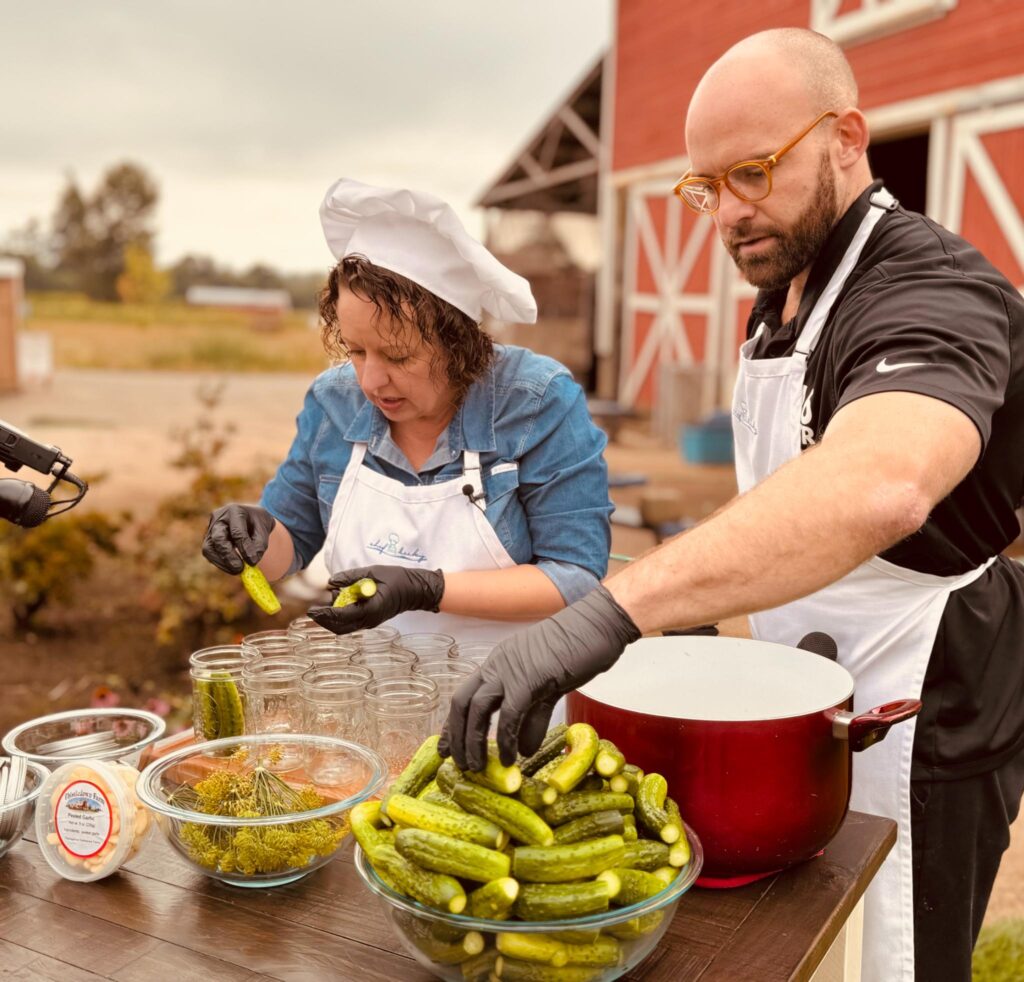
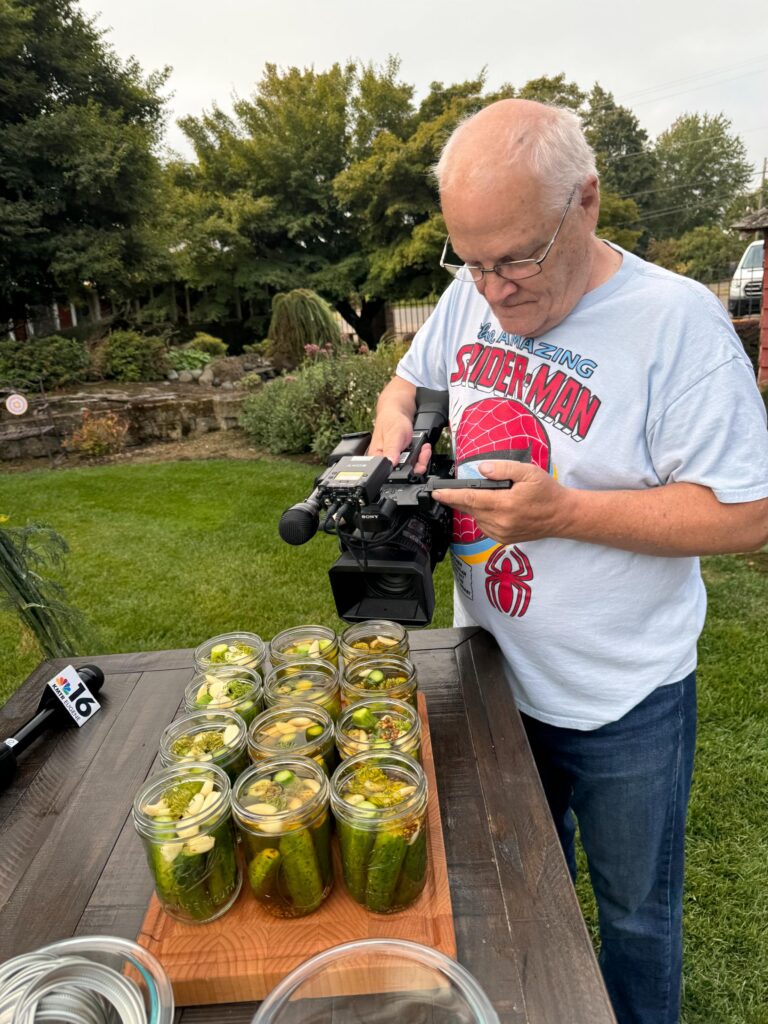
To make dills: If the cucumbers are too large, you may want to cut them into chunks, slices or sticks. Otherwise, leave them whole. Pack the cucumbers into clean jars or food-grade plastic containers, leaving 1/2-inch head space. Divide the sliced pieces of garlic and halved dill heads among the containers. Add a pinch (about 1/4 of a teaspoon per quart) of the crushed pepper flakes to each container (another pinch or two should be used for those who enjoy more “bite” in their pickles).
If the brine has been refrigerated, reheat in a nonaluminum pan. Ladle the hot brine into the containers, leaving 1/4-inch head space. Attach lids. Let cool to room temperature, then store in the refrigerator.
The pickles are “becoming good” after 7 to 10 days of aging, but they won’t be “Damn Good” for at least a month. Even then, they will continue to improve for months. I’ve kept batches for up to 24 months and they’ve been fabulous down to the last pickle.
If you don’t have enough refrigerator space and need to store batches at room temperature, you’ll have to process the jars in a boiling-water canner. Here’s how:
To process pickles: Wash pint- or quart-size canning jars and lids (such as Ball or Kerr). Keep hot until used. Pack the pickles into the jars, leaving 1/2-inch head space. Divide the garlic slices, dill and pepper flakes among the jars. Pour the strained hot brine into 1 jar at a time, leaving 1/2-inch head space. Wipe jar rim with a clean, damp cloth. Place the metal disc of the two-piece lid on top of the jar opening, then screw on the metal screw band. Fill and close the remaining jars.
Process the jars, using the low-temperature pasteurization treatment (this method keeps the pickles from being subjected to boiling water and helps them stay a little firmer): Place jars in canner filled halfway with warm (120 to 140 degrees) water. Then, add hot water to 1 inch above jars. Heat the water to maintain 180 to 185 degrees temperature for 30 minutes. Check with a candy or jelly thermometer to be sure the water temperature is at least 180 degrees during the entire 30 minutes. Temperatures higher than 185 degrees may cause unnecessary softening of pickles.
Note: There is not a processing time for 2-quart jars, so if you are using this size, the jar(s) must be refrigerated.
Jan’s Damn Good Garlic Dill Pickles by Jan Roberts-Dominguez
